Techniques for Hiding Repetitive Terrain Textures In Unreal
Lately, I’ve been obsessed with terrain textures. One of the biggest challenges with texturing terrain is getting the textures to look good both up close and far away. The tradeoff is usually:
- Higher density textures look good close up but look tiled/repetitive far away.
- Lower density textures look good far away, but look blurry close up.
There are several commonly used techniques for dealing with repeated textures, and this doc is a bit of a journal overviewing my experience so far with implementing these techniques.
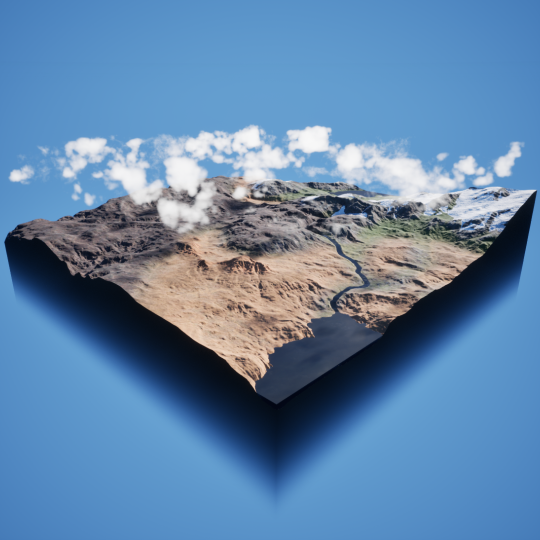
Important Terms
Before we go any further, we should define a few important terms:
- Detail Scale: Textures/Materials viewed at very close distance to the player. Think your character and any objects close enough to interact with.
- Macro Scale: Textures/Materials viewed at medium distance to the player. Think stuff farther away than detail level, but still a short walk away.
- Global Scale: Textures/Materials viewed at far distance to the player. Think a mountain range far off in the distance.
Techniques
Technique #1: Author Better Landscapes
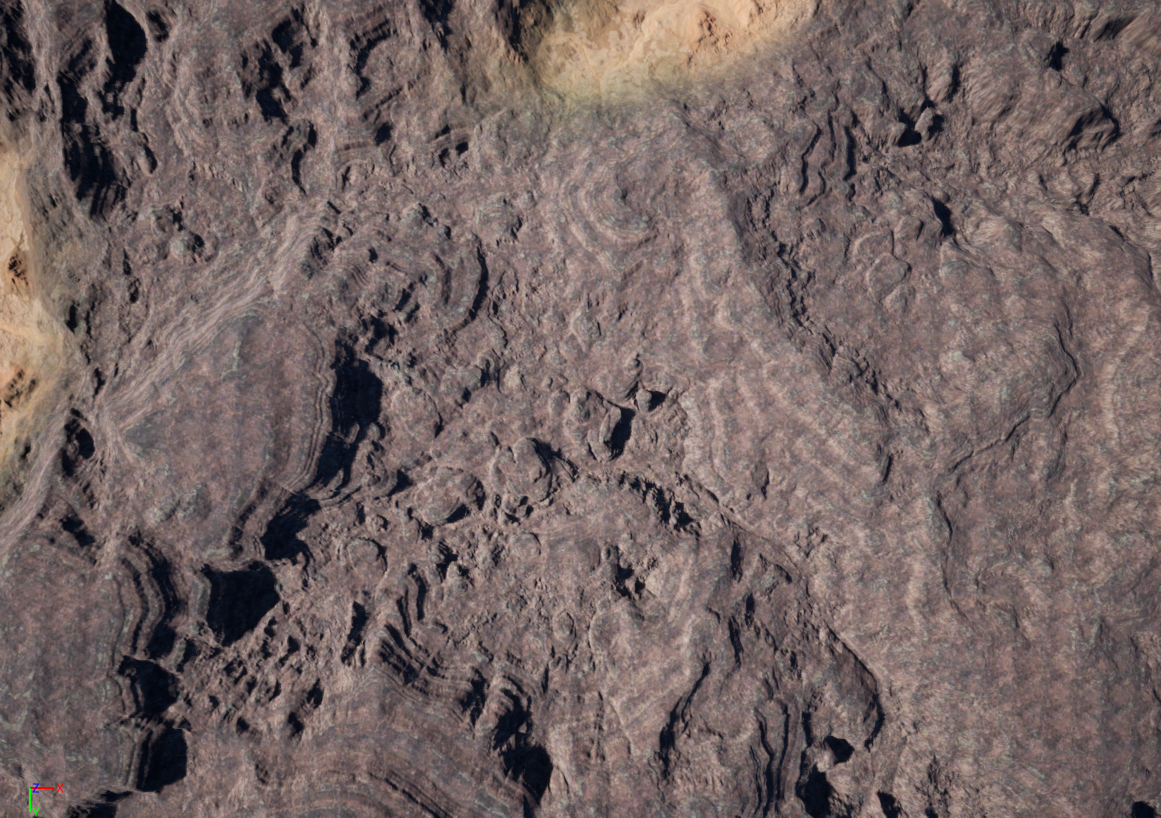
One thing I’ve noticed is that more bumpy terrain tends to look better than flat terrain due to it having more visual breakup. Making sure that you take time to add enough geometric detail to your landscape can lead to some easy wins.
Example: The canyon terrain below uses a single texture. The tiling in the highly detailed center area looks much better than the tiling in the more flat areas surrounding this area.
Technique #2: Author Better Textures
Some textures just look better than others. Notice how the second grass texture below looks less tiled just by virtue of the fact that it has less variation.
Texture 1: Very obvious tiling due to noticeable dark spot on texture.
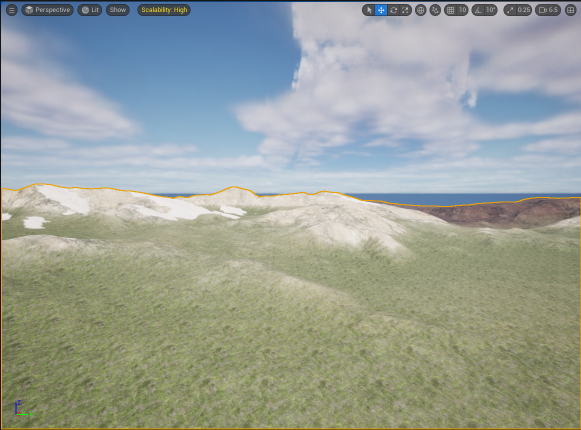
Texture 2: Looks better due to lower variation.
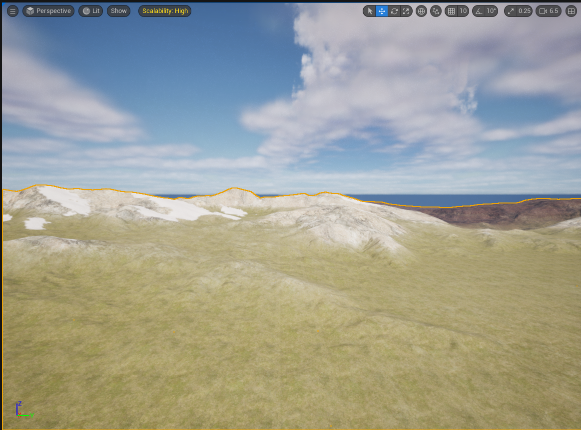
The nice thing about this technique is that it can lead to some very cheap wins with improving visual fidelity. Some textures (especially grass I’ve noticed), just look bad and no amount tweaking is going to help. The downside to this technique is that it is unlikely to completely solve your problems. Even the second texture above still has some noticeable tiling. I would categorize this technique as a great supplemental one.
Something I haven’t had time to delve too deep into but would like to in the future is using either Quixel Mixer or Photoshop to try to improve the tiling on an existing texture. It should be possible to take a texture with some glaring variation and alter it so that the variation is less noticeable. This would probably be a good topic for a blog post at another time.
Technique #3: Texture Obstruction
You can strategically block the player’s view in order to hide far distance texture tiling. This can be accomplished with:
- how you construct your actual terrain
- mesh placement
- foliage
- buildings
- fog
This technique can be very strong when implemented well. One thing I’ve noticed recently in a lot of modern games is that they often maintain some level of foliage (grass usually) even at fairly far distances, just to visually break up the underlying terrain texture.
Technique #4: Scale Sweet Spot
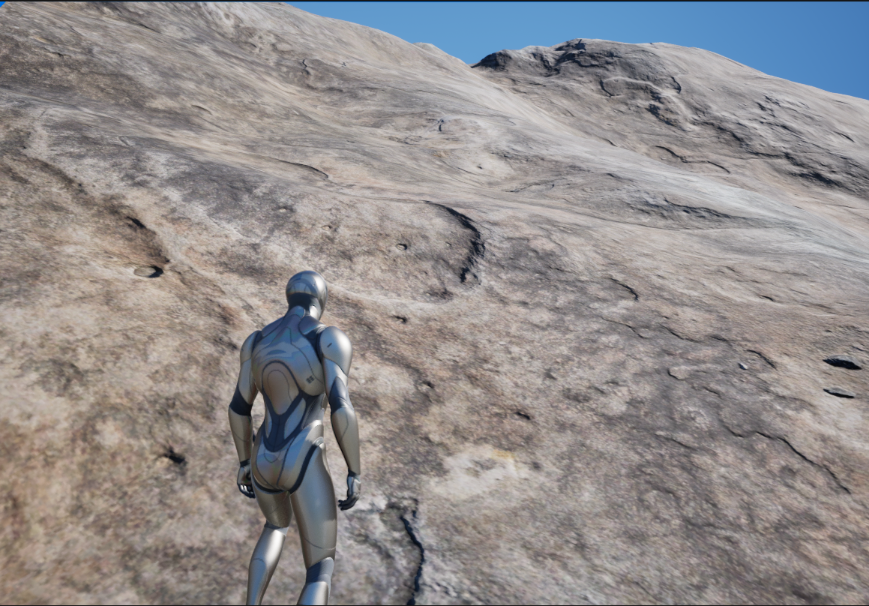
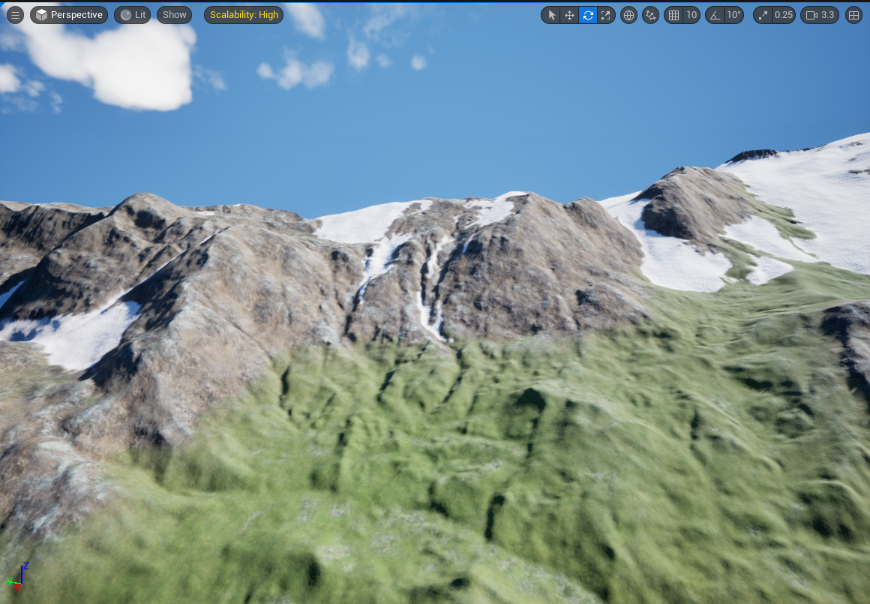
Sometimes you can find a scale that looks nice at near and far distance. This technique seems to work well for rocky terrain especially.
For example, in the images below- I used a slightly larger larger scale for the rock texture than I would have used if I was simply viewing it up close. I was able to find a scale that I was happy with at both near and far distance.
How to Do it In Unreal
Simply multiply your UVs by a constant before you plug them into your texture sample node.
Technique #5: Texture Variation
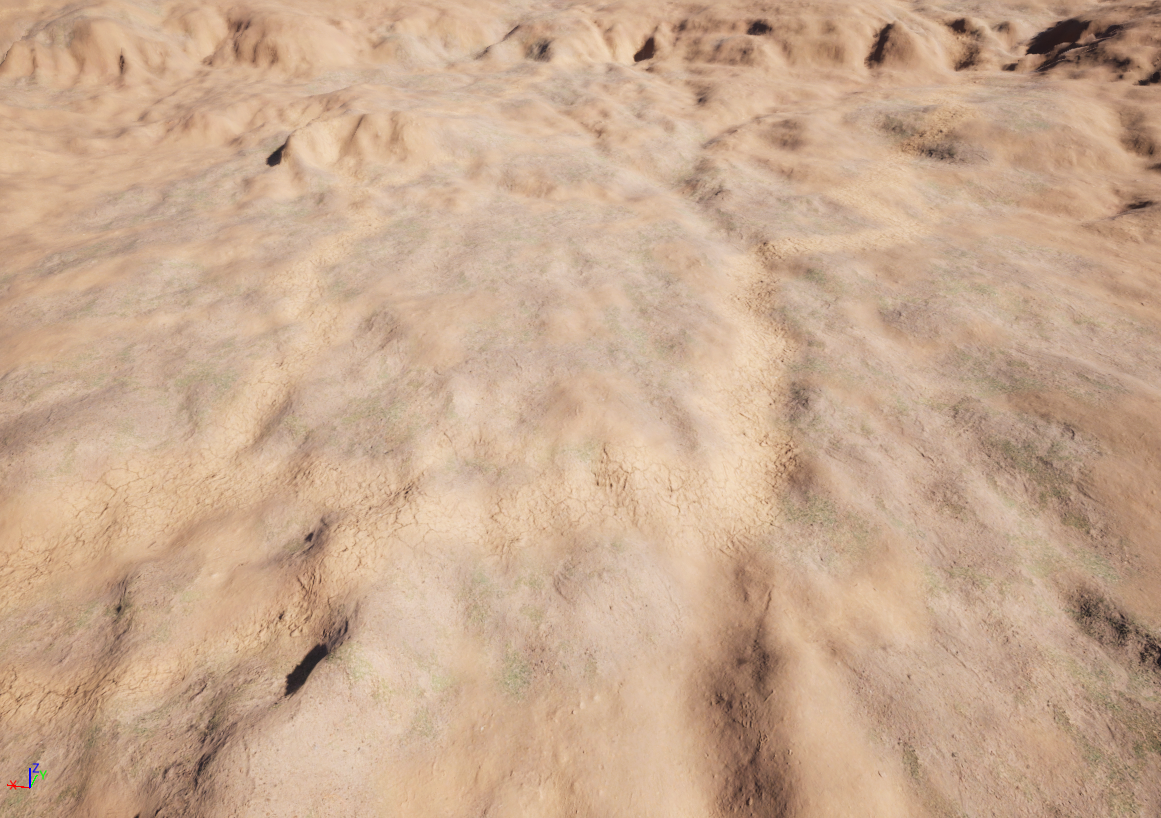
This technique involves blending multiple textures together using a mask. This technique can be very powerful because it lets you use much more densely tiled textures (which is good for up-close viewing), but then adds a lot of breakup to these (which is good for far away viewing). For example, in the image below, the desert area uses three different textures blended together, whereas the canyon area only uses a single texture.
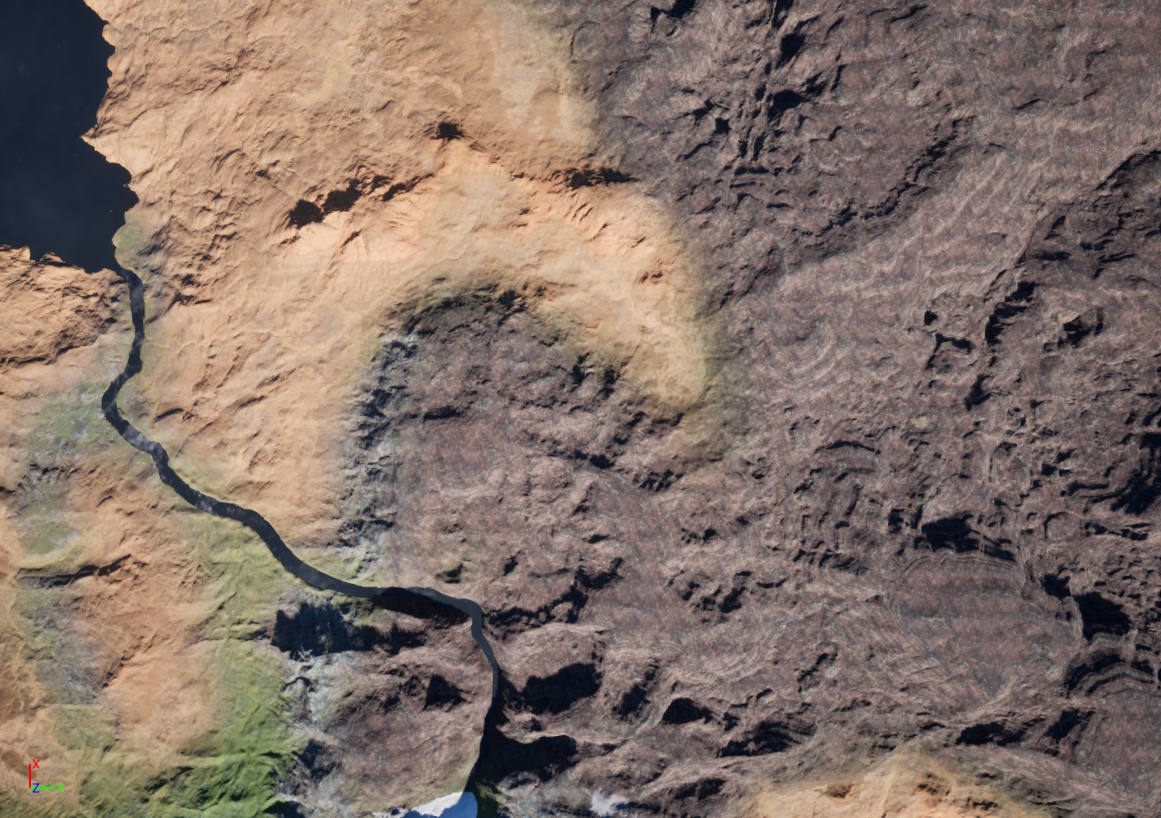
The difficulty with implementing this technique lies mostly in how you choose your mask. A simple mask can just be a noise texture, but I’ve found just using noise can often lead to unnatural looking patterns. Another option that sometimes works better is to try to use some feature of the terrain itself such as slope/erosion to drive the material blending. You can also author terrain features specifically for visual breakup. For example, if you are creating a desert/arid environment, it may seem counterintuitive to add rivers to this, but adding a river network and then masking this out for use with a dry/cracked riverbed texture can add some much needed variation.
How to Do it In Unreal
Export your masks as greyscale images. Import them into Unreal using the landscape layering system (see my previous blog post for more info). Use a Lerp node or a Blend Material Attributes node to blend from one landscape texture to the other. I like using the Blend Material Attributes node because it lets you easily blend the normal maps together as well.
Technique #6: Color Variation
Color variation involves tinting various parts of the landscape using a mask. Basically all the same strategies for creating texture variation masks apply in this case as well. Your milage will vary a lot depending on what texture you are using, what colors you choose to tint with, and how you choose your mask. At its worst, color variation can just make it look like there are weird dark smudges on your landscape. It can also often obliterate a lot of the natural color variation that is already present in your texture. When applied correctly though, I’ve found this to be a very strong technique.
How to Do it In Unreal
I’ve tried several different strategies for creating the colormap. See below for more detail. The actual tinting itself is accomplished by simply using a multiply node to combine your base texture color with whatever tint color you want. I’ve also found that sometimes the blend_overlay node works better and results in a more dynamic final color. As opposed to multiply which typically darkens the final color, blend overlay works like Photoshop’s overlay blend mode where light pixels get lighter and darker pixels get darker.
Color Variation Technique #1: Import from Terrain Program.
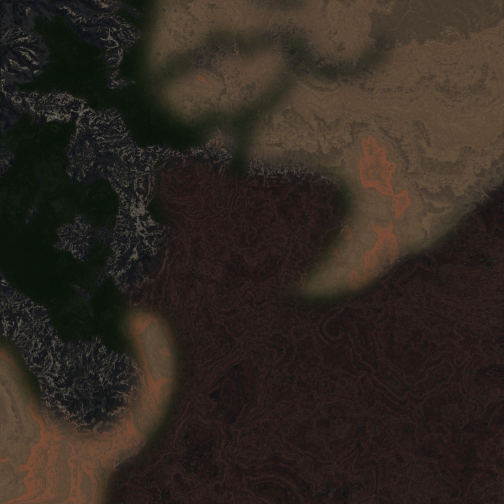
You can create your colormap in your terrain program. For example, in Gaea, I used the standard texturing nodes to create a colormap for my entire landscape. Then, I sampled from this image in my unreal master material to tint certain portions of the landscape. I found that in some cases, it was better to use the raw colormap, and in other cases, using a blurred version of the color map produced less visual artifacts. In the future, I may investigate just combining the sharp and blurred regions into a single image before exporting.

Color Variation Technique #2: UV Mapping
Another technique I tried was using the same greyscale mask that I used in Gaea for distributing colors via the satmap node to sample colors from an exported version of the satmap in unreal. The way this works is you take the greyscale color value of the color mask and you use that to compute the U value of the UVs for the satmap texture. For the V value, you just set this to some constant value between 0 and 1.
So for example, created a composite colormap that looks like this:
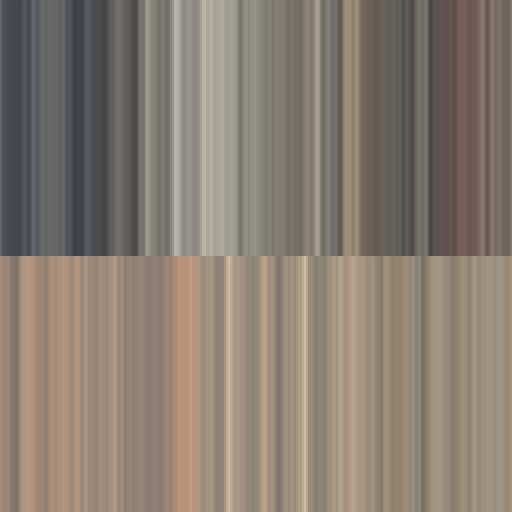
And then I was able to do two different types of color samples depending on if I set V to 0.25 (in the middle of the upper colormap) or 0.75 (in the middle of the lower colormap). This can be controlled even further by remapping the greyscale values from [0.0, 1.0] to some smaller subset (ex. [0.65, 0.85]). This is similar to dragging the “clip colormap” handles inside of Gaea to ignore some portion of the edges of the colormap.
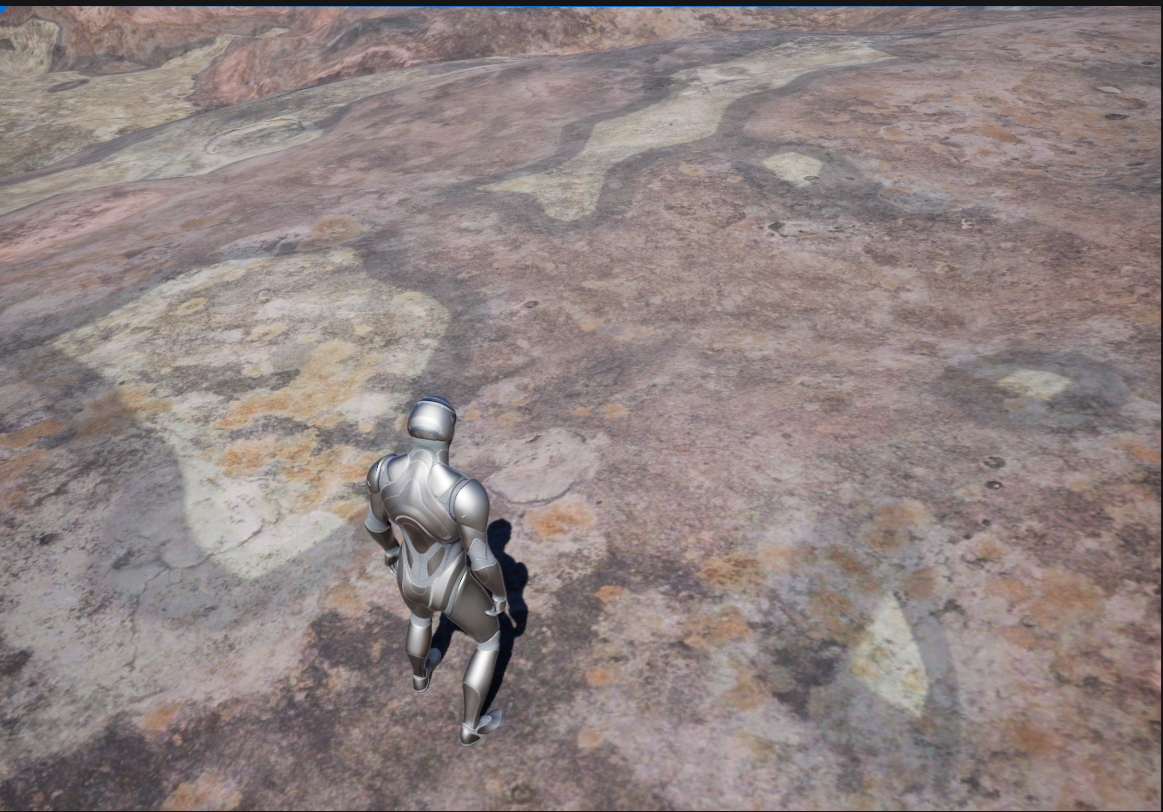
I found this technique to work well at far distances, but to run into trouble up close. Depending on how much of the colormap I included in the sample, I ended up getting these strange patterns that looked pretty bad at the detail and macro scale. I’m still interested in using this technique in the future. A couple things I’d like to try are authoring a colormap that has a lot less variation between the colors, and trying produce a greyscale mask that has fewer noticeable patterns in it.
Color Variation Technique #3: Simple Color Lerp
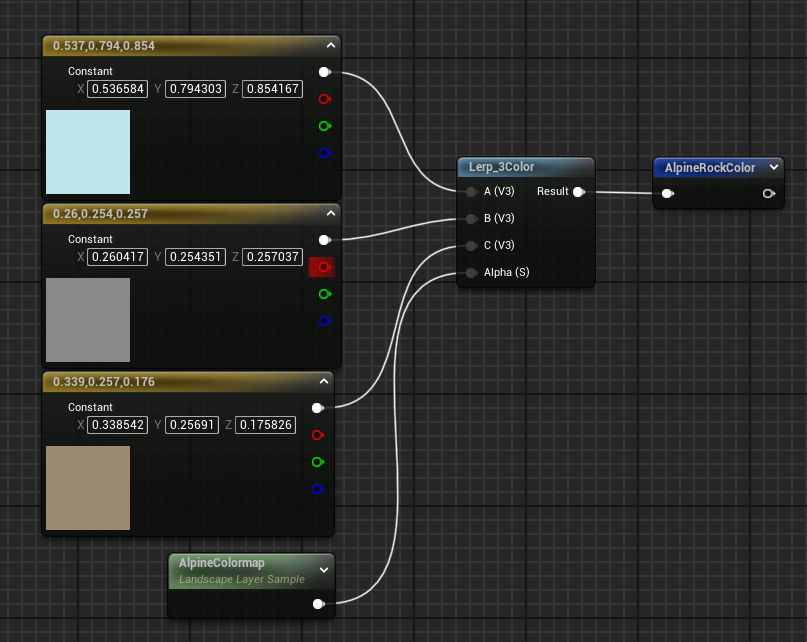
Instead of using a complex color map, I’ve also found success simply lerping between several constant color values using the greyscale color mask value as my alpha. UE has a handy Lerp_3Color material function that lets you blend between three color values at once.
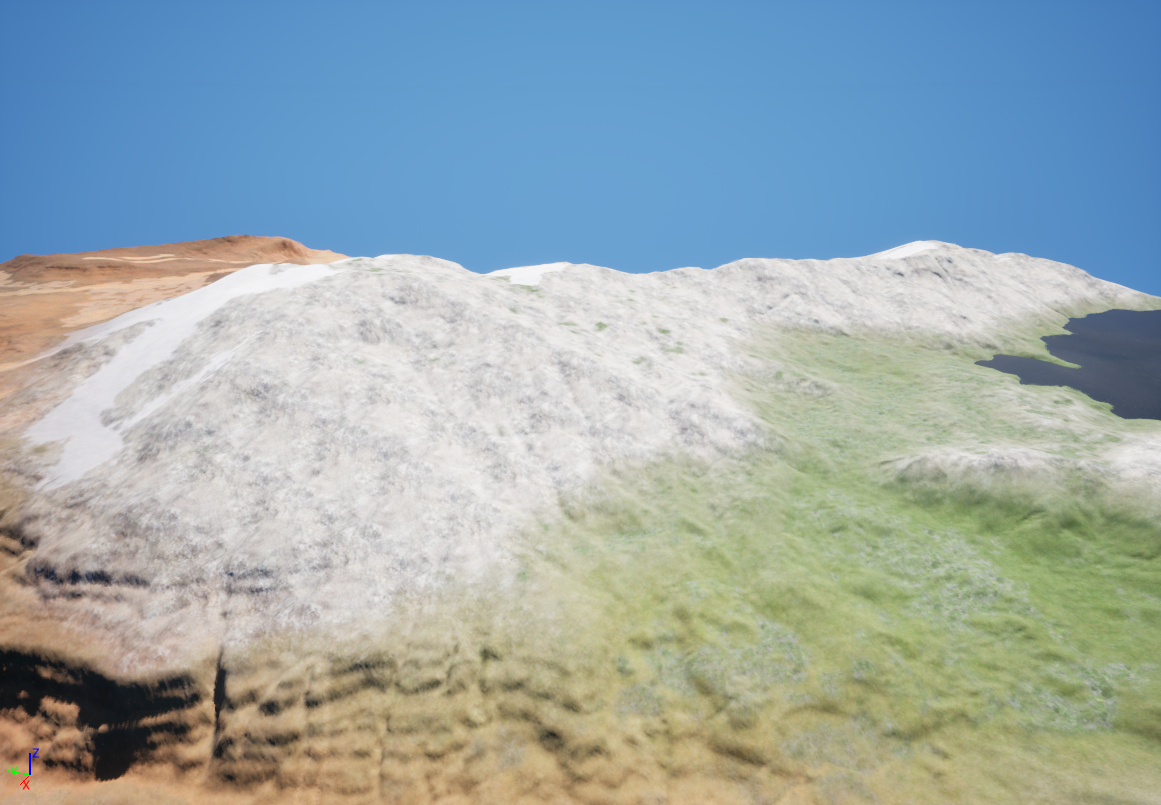
Without the color variation. Note that the base texture is actually fairly light in color, which often seems to work better when you are planning on tinting it later:
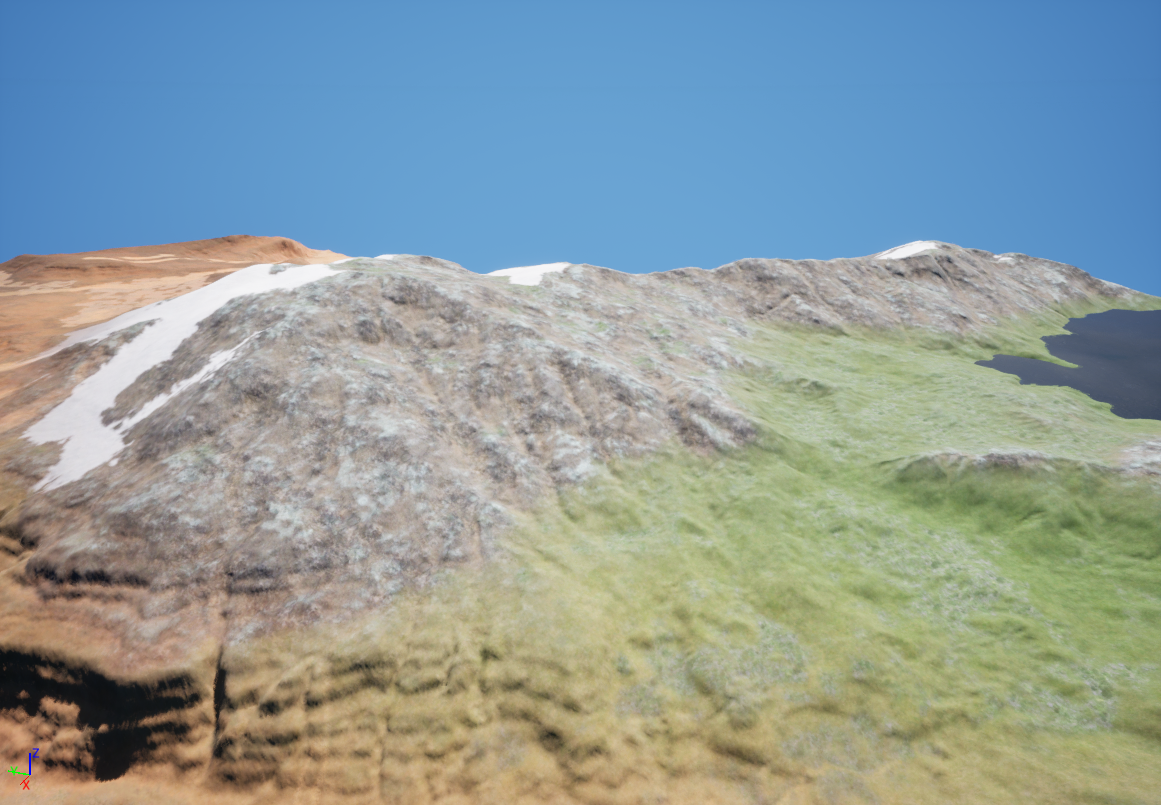
With color variation:
Technique #7: Texture Bombing
Texture bombing is a technique where you essentially use some algorithm to slice up your texture, rotate and scale the slices, and then stitch them back together. The result is a texture with much fewer noticeable patterns.
I’m not a huge fan of texture bombing. The end result always seems to look a little wrong when you inspect it closely, because you are essentially destroying a lot of the natural detail in the texture by slicing it up. I also feel like you can easily go down a rabbit hole searching for a better and better bombing algorithm. Also, texture bombing can be quite performance intensive.
How to Do it In Unreal
Unreal has two different material functions for doing this: TextureVariation and Texture_Bombing. Or, you can go down the rabbit hole and implement one yourself.
Technique #8: Distance Based Blending
Distance based blending is a technique where you use a completely different scale of texture depending on if the pixels being rendered are close to the player or farther away. I have found that this is absolutely the best looking technique because you can simply scale the texture to be the best at all distances. The downside to this approach is that you are doubling or even tripling the number of texture samples you are doing, because you have to sample the textures once at each scale you want to use. Furthermore, it can sometimes be jarring to see the transition between the near and far textures as the player moves around. However, this can be greatly alleviated by picking a good transition distance, and can also be hidden using the texture obstruction techniques mentioned above.
How to Do it In Unreal
Unreal comes with a CameraDepthFade material function that allows you to do distance blending. One big drawback to this technique is that this function uses the CameraPosition node, which does not work properly when your material is rendered into a Runtime Virtual Texture (RVT). So, if you are planning on using RVTs, you will have to do the distance blending outside of your RVT sample. One thing I’m considering looking into is rendering two completely separate RVTs (one for detail scale and one for macro/global scale) and then sampling from both and blending using CameraDepthFade. This may be too resource intensive for what it is worth though.
UPDATE (09/25/24): As recommended by the UE docs, you can actually approximate the effect of camera based blending using mip levels instead. Use the View Property node’s Virtual Texture Output Level setting to get the current RVT mip level.
Bonus Technique: Work Within Your Constraints
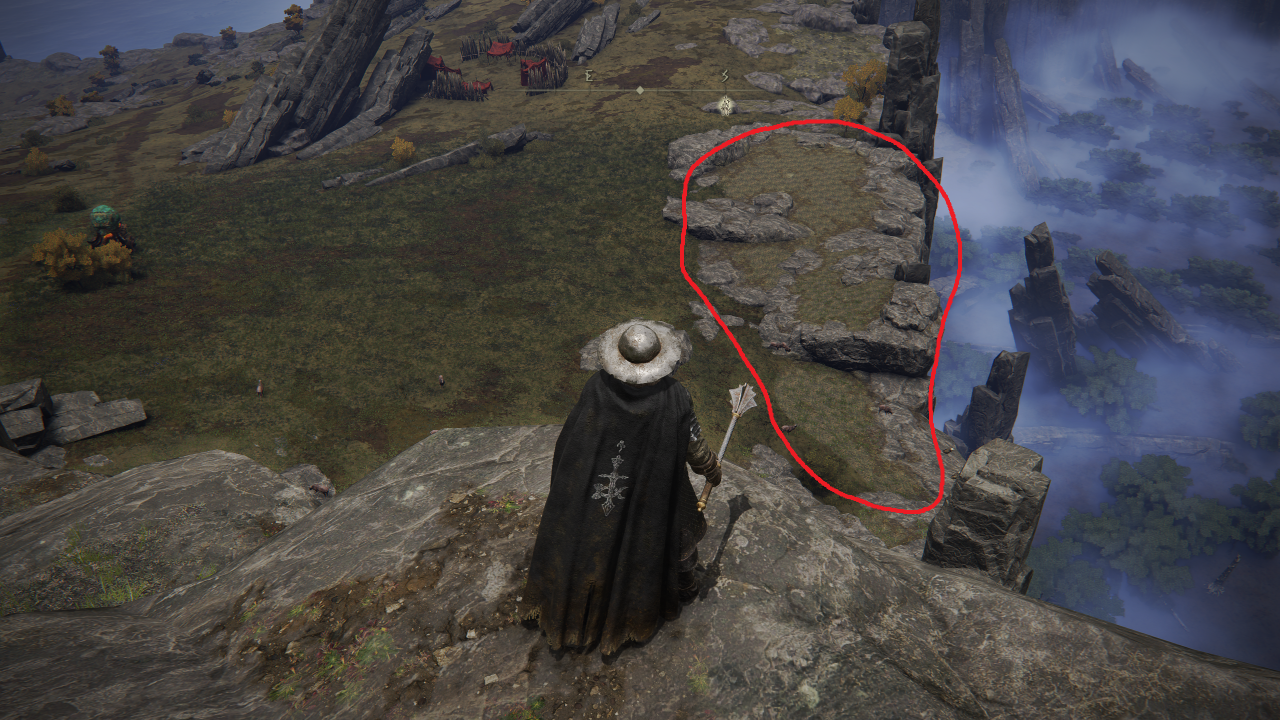
I was playing some Elden Ring the other day, and I noticed that while the game generally does a good job of breaking up tiling/repetitive texture patterns using the techniques discussed above (you can see below good use of texture blending, color variation, and obstruction via foliage and fog), it is still very possible to find patches of very obvious repeated textures at certain distances. And you know what? Elden Ring is still a great, visually stunning game. On personal projects, it’s easy to get sucked into the trap of infinitely trying to improve visual fidelity, but in the real world games are made under time constraints, and not every edge case needs to be perfectly accounted for. The key is to make sure the landscape material looks great in the majority of cases.
