Houdini Trim Sheet Tools: Issues and Improvements
As I continue to work with procedural modeling in Houdini, a nagging question has been lurking in the back corner of my mind: What is a good workflow for UVs in Houdini? I’ve sort of just taken for granted that whatever geo you manage to produce in Houdini will somehow end up with usable UVs. For a while, I was just satisfied knowing that Houdini provides some tools for unwrapping and packing UV islands, but the other day it dawned on me- what about UV orientation? How do you deal with procedurally generated UVs when you want them to be aligned in a particular direction?
The obvious answer: don’t.
I am now convinced that a lot of stuff people procedurally model with Houdini must be created with the intention of using textures that tile in every direction. There are a lot of surfaces for which this is an easy win: rock, metal, painted surfaces, etc. As long as you are able to generate some reasonable UV seamline placements, you can slap a tiling texture on there and call it a day.
The other answer: trim sheets!
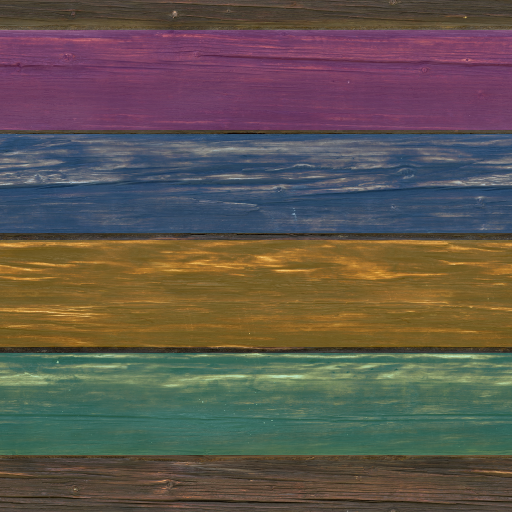
Trim sheets are a nice compromise. You get a texture that tiles in potentially one dimension, so you can get something with some directionality (like a wood-grain texture), but with a fairly simple set of criteria for where the UVs need to be placed: fit the UVs inside this box.

SideFx Labs Trim Sheet Tools
Houdini actually comes with some trimsheet options right out the box.

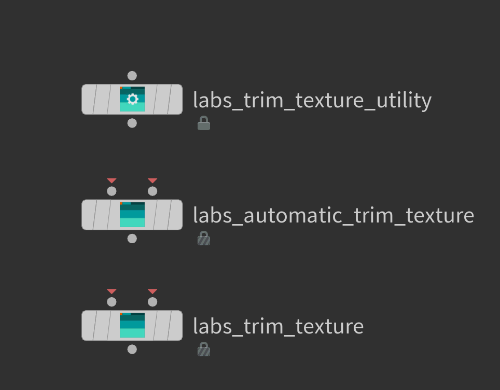
I won’t go into exhaustive detail on these, but here is a quick breakdown:
Labs Trim Texture Utility
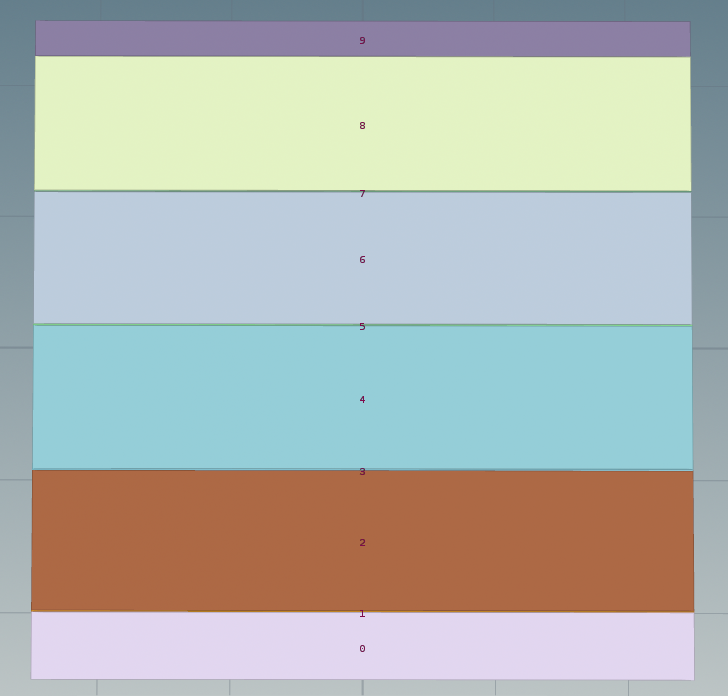
This node takes in a trim texture and formats it for use by the other two nodes. You can supply it either an ID map image, or a set of colored primitives that represent the trim sheet. Either way, the output of this node is a set of colored primitives that are each tagged with a trim ID.
Labs Automatic Trim Texture:
This node takes your geo and your trim data and tries to find the best section on the trim sheet to fit each UV shell within some texel density threshold.
Labs Trim Texture
This node lets you manually select individual prims in the viewport and assign them to specific regions on your trim sheet. Note that this is per primitive not per uv shell.
Issues I Ran Into
Colormap Causes Houdini to Freeze
When I first tried out the Trim Texture Utility node with a colormap image, Houdini immediately started to chug and then finally froze altogether. I was eventually able to track down the root cause, which had to do with image resolution.
My base texture was 4K so naturally I created a 4K colormap overlay and gave that to Houdini. As it turns out, the Trim Texture Utility node creates a flat grid polygon with a number of rows and columns equal to the resolution of the image you give it! So a 4K colormap is going to result in an insanely dense mesh. Supplying this node with a 512x512 image instead fixed the issue.
Colormap Bleed
The second weird problem I ran into is related the first. After I realized I needed to scale down my colormap image, my first instinct was to just scale down the output in my photo editing program and go from there. Unfortunately, scaling down the image (even though it’s just a bunch of colored squares) resulted some unwanted color blending at the edges of each colored region.

The result was that Houdini would get confused by these blurred regions and assign them their own trim ID.

I’m pretty sure this is due to the image being resampled, but I was not able to find a way to turn this off. I tried this is both Affinity Photo and Photoshop. The only sure fire way to get a clean colormap seemed to be to start with a 512x512 canvas, then build your map from there and export.
Improvements to the Base Houdini Trimsheet Nodes
I found that the existing labs nodes were weirdly missing the following features:
- You can go full automatic placement and full manual (per prim), but there’s no way to just say “put all the uv shells I give you into trim #3”.
- There’s no way to filter out regions of the trim sheet you don’t want to use.
I was able to modify the existing Labs Texture Utility and Labs Automatic Trim Texture nodes to add this functionality. Here it is in action:
My trim sheet actually has regions I have marked for filtering. To accomplish this I simply added a “filter color” to the node parameters. By default the color is set to black.