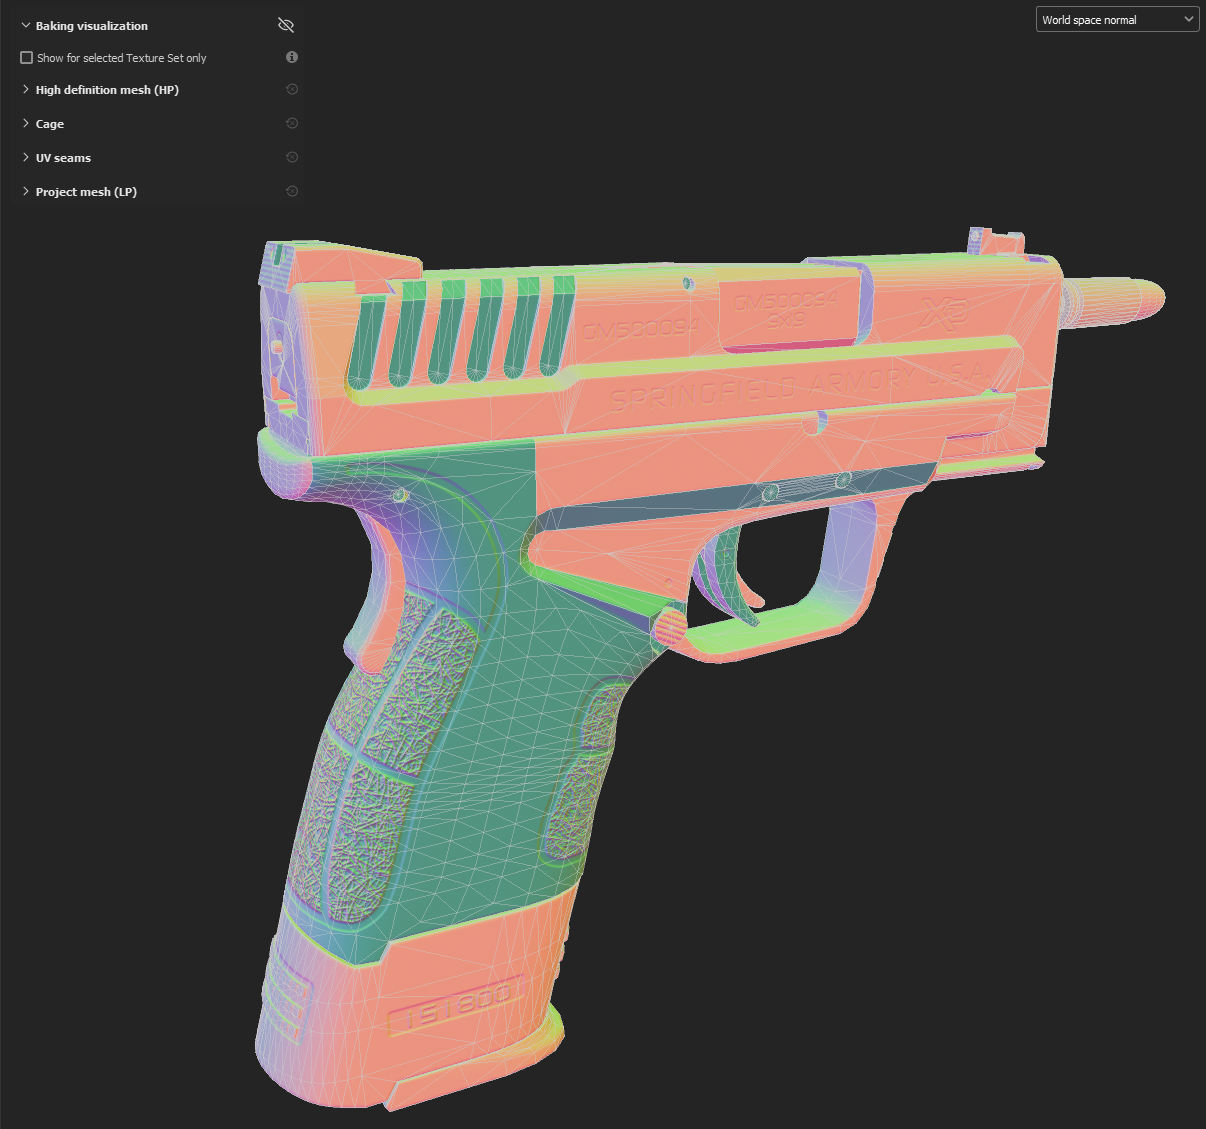
Handgun Project: Troubleshooting
I recently completed Eugene Petrov’s excellent 3D tutorial for a 9mm handgun (available on Gumroad or Flipped Normals). This post is a dump of all the notes I took of problems I ran into and how I solved them. If you want to see my final render, you can head over to my Artstation.
The tools I used for this project were Maya for lowpoly, ZBrush for highpoly, Rizom for UV unwrapping, Marmoset for baking, and Substance for texturing. The vast majority of the problems I ran into were during the baking and texturing stages. I’ve listed them below in (roughly) chronological order.
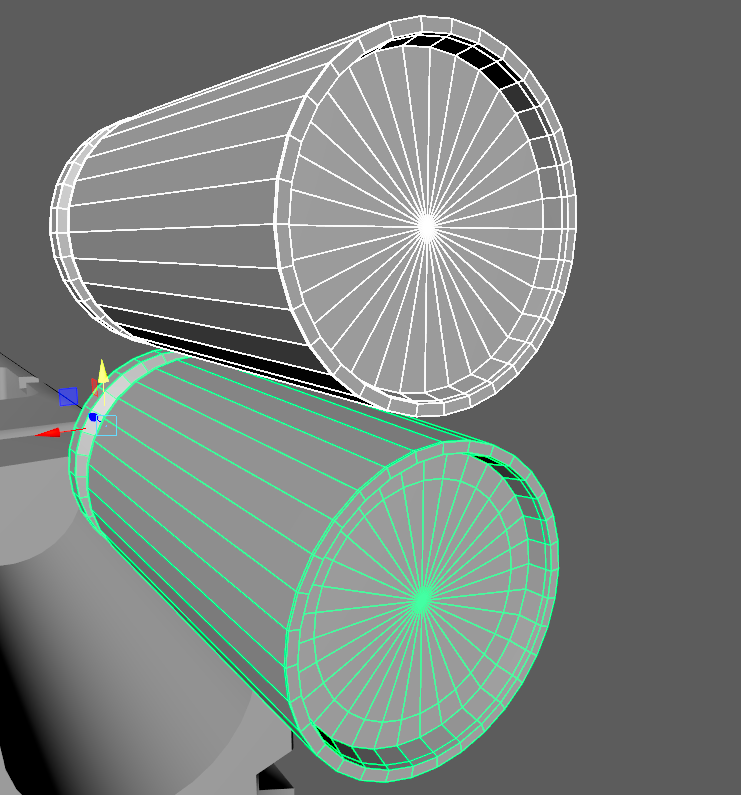
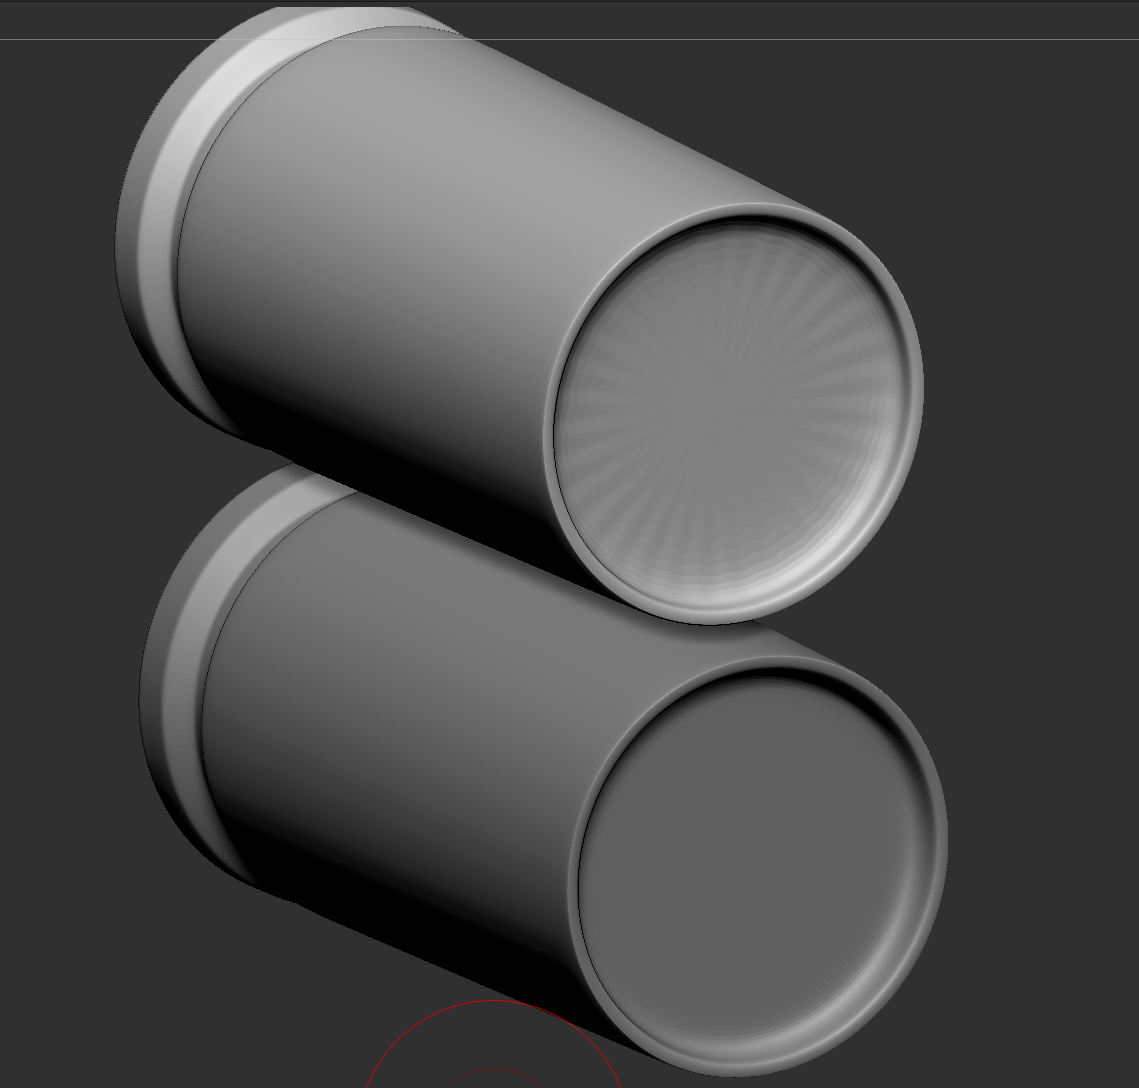
1 - Discs Need Holding Edges
Even if the face is flat, it needs a holding edge to prevent a star pattern from forming. In the first image I have two versions of my bullet shell casing- one without a holding edge, and one with. You can see the result in the second image when I load these two into ZBrush and subdivide them.
In Maya:
In ZBrush:
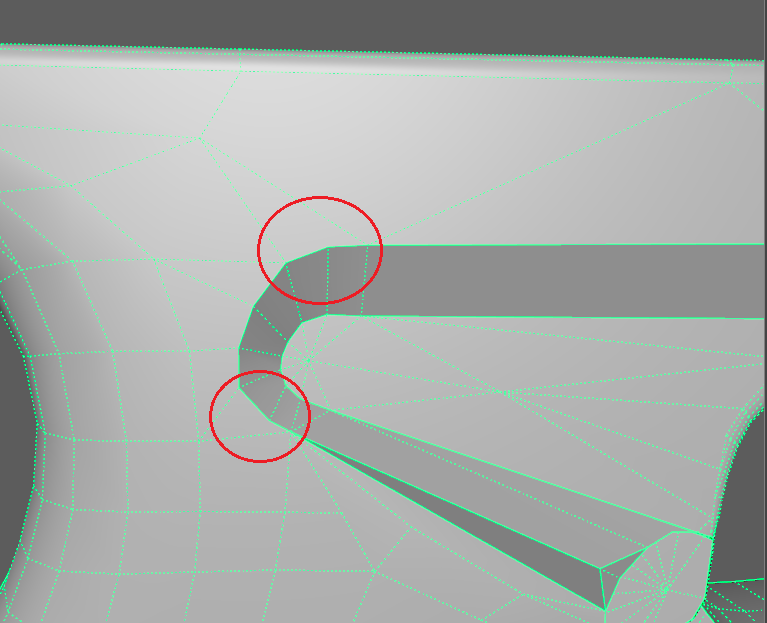
2 - Concave Polygons Can Cause Baking Issues
I don’t think this actually will matter after triangulating for the final bake, but in my test bake these concave polygons were causing artifacts. You can use Maya’s cleanup tool to find and fix these.
In Maya:
In Marmoset:
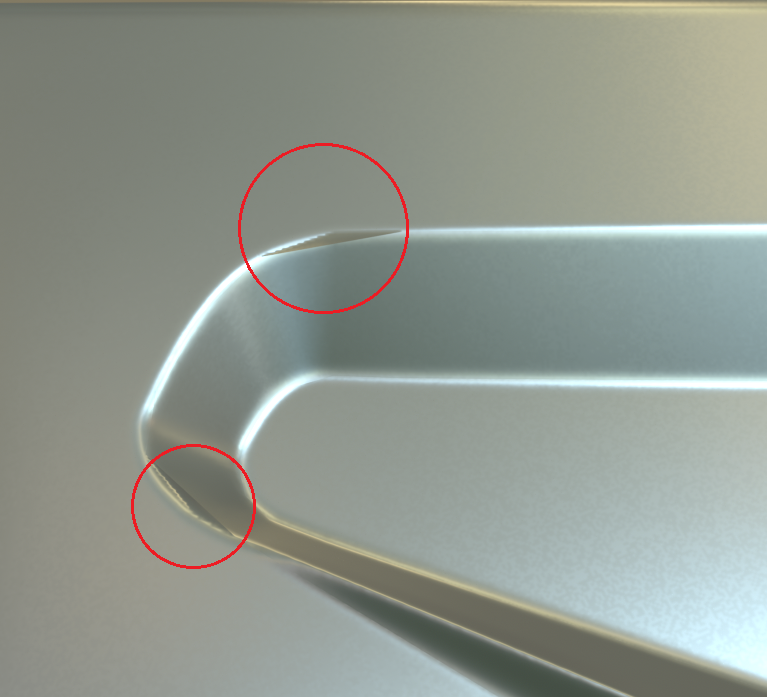
3- Ambient Occlusion in Marmoset
Failing to uncheck “ignore groups” when baking ambient occlusion can cause unwanted bake artifacts. You can see here that leaving this open enabled causes an outline of the rear sight to get baked onto the top of the slide.
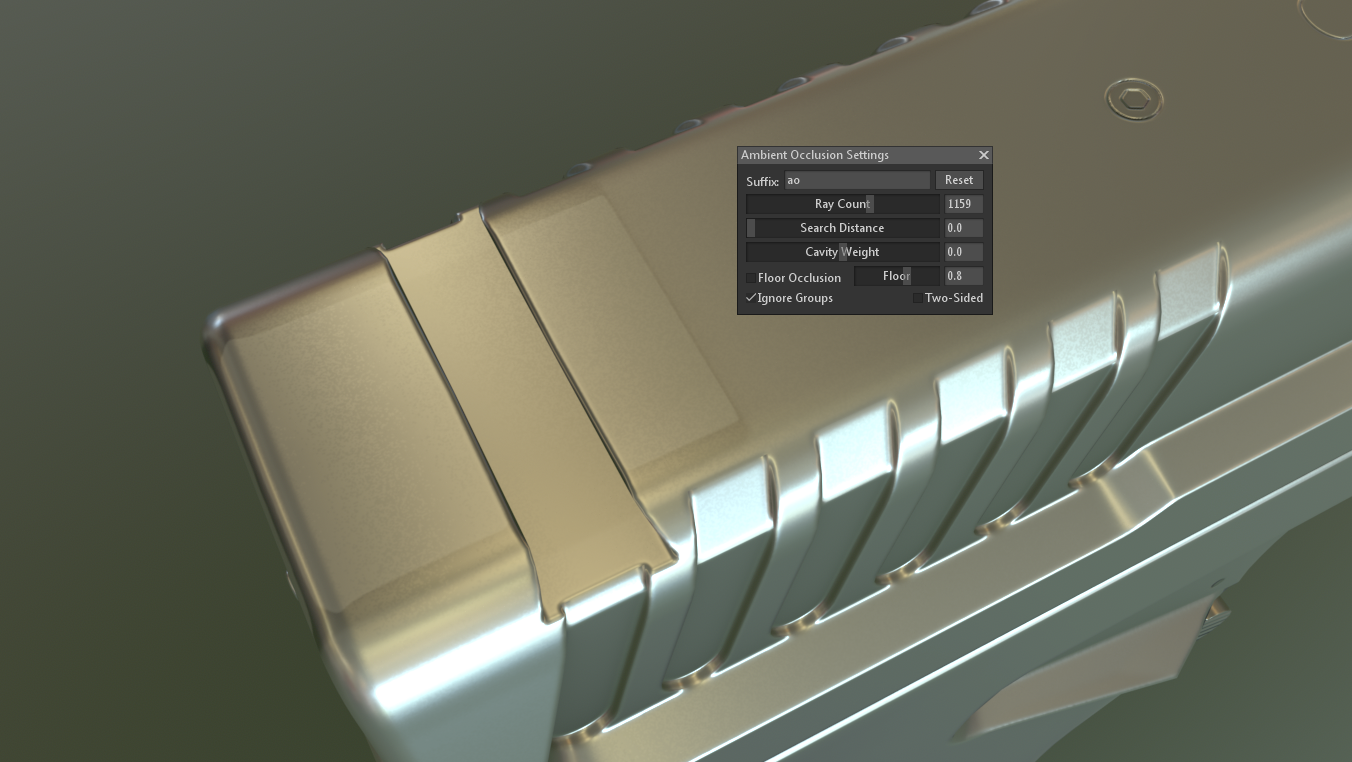
4- Baking Stacked UV Shells
I ran into this use when baking the cartridge where I was getting this black ring along the rim of the shell casing.
One special thing about this particular part of the model was that I wanted to stack the UVs for the isolated shell casing mesh along with the UVs for the combined cartridge mesh (bullet + shell casing). My mistake was that when I was separating out the stacked UVs (Marmoset will not bake properly if you leave any stacked UVs in the U1V1 space, so you have to move the duplicate UV shells to an adjacent space), I moved the entire isolated shell casing mesh out in to U-1V1. This caused marmoset to (correctly) bake a dark recess in the crevice where the bullet meets the shell. By swapping the UVs (put isolated shell UVs in U1V1 and combined shell UVs into U-1V1), I was able to get marmoset to recognize the UVs as belonging to separate meshes.
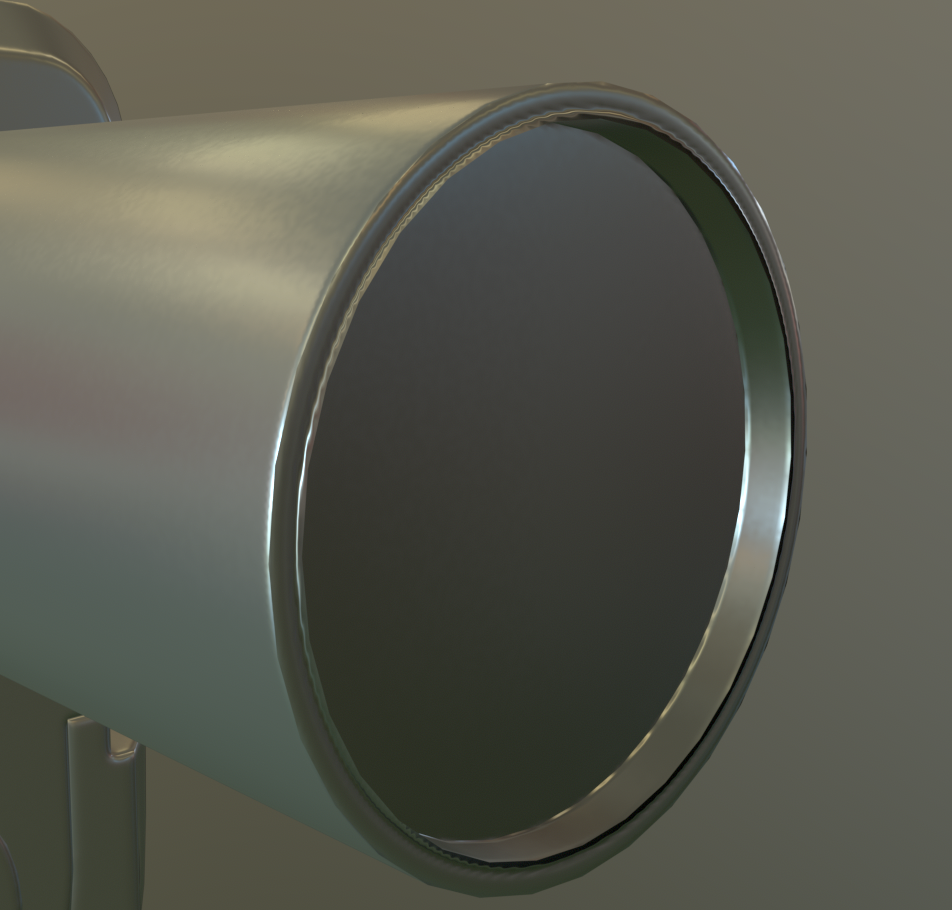
5- AO Helps With Seams on Flat Surfaces
This is more of an observation, but baking AO seems to help with masking UV seams.
Before AO:
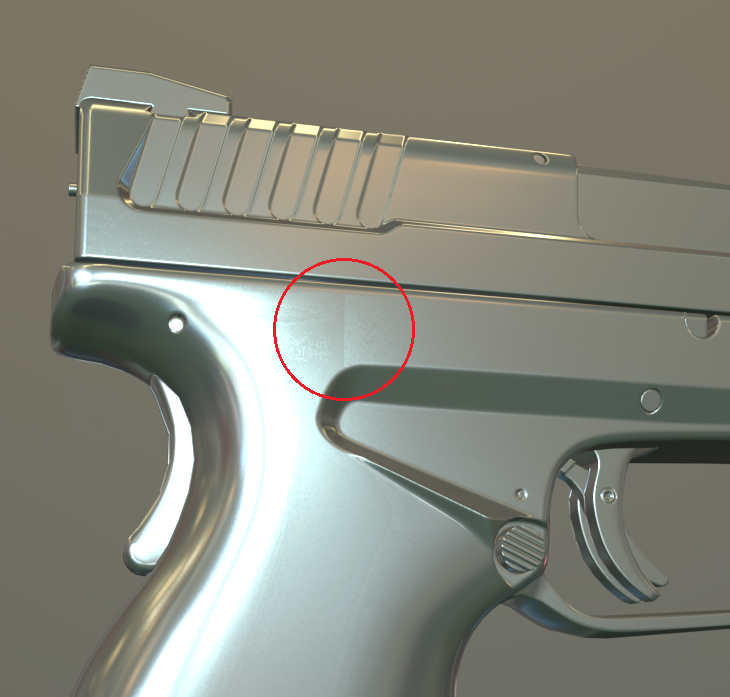
After AO:
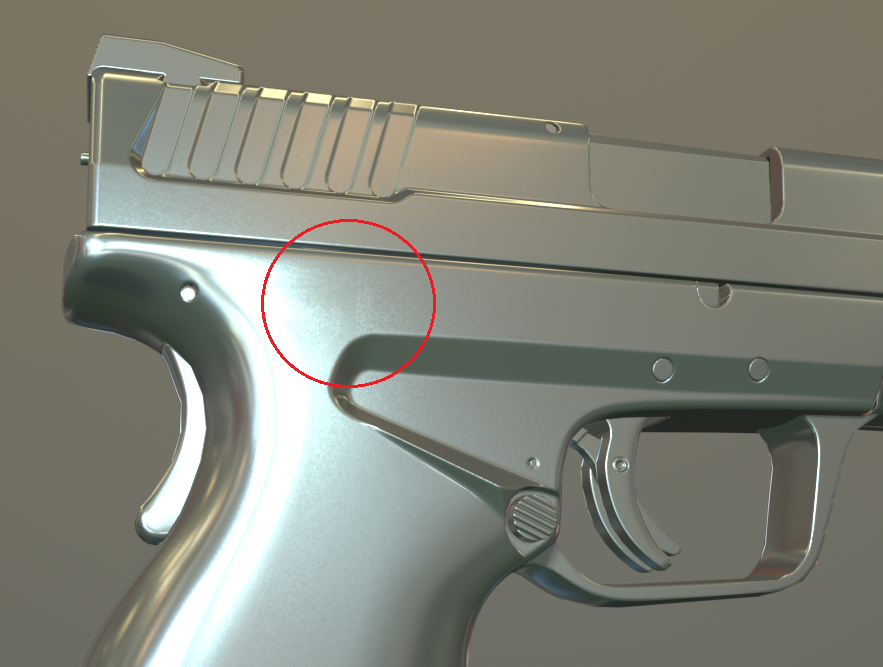
6- Maya Triangulate Does Not Always Work With Perfect Symmetry
One of the pinholes on the frame had this really strange artifact. At first, I thought accidently had placed a hard edge here, but after checking the mesh I found they were all soft edges.
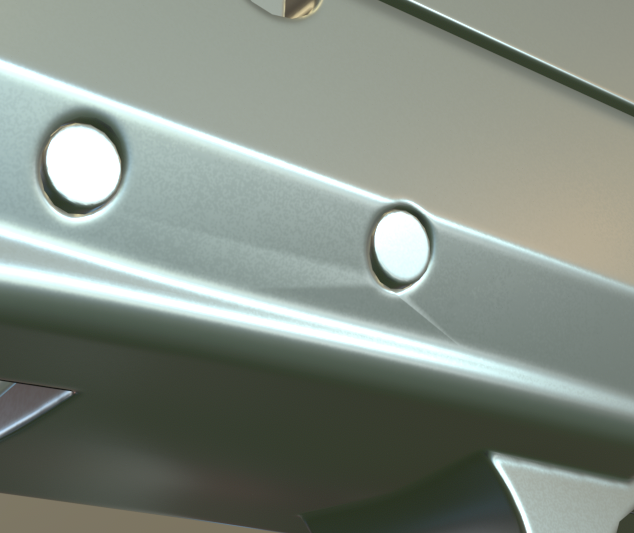
Turns out this was caused by a triangulation error. For some reason, maya did not triangulate both sides of the gun the same, even though they were symmetrical. The flipped side had a pinched triangle:
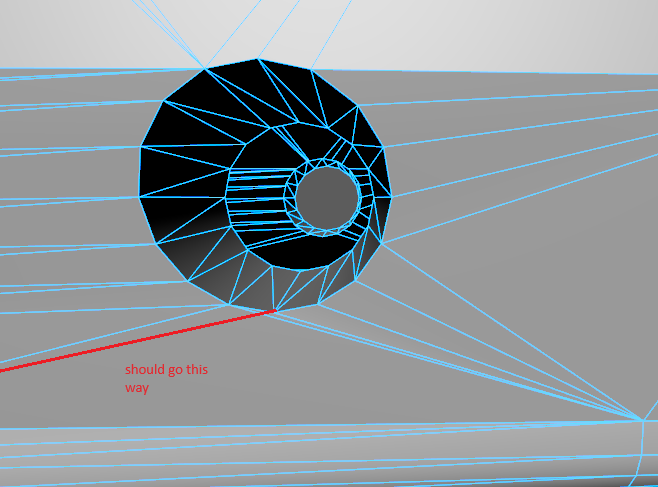
To fix this, I just manually placed the edge going the correct direction before triangulation.
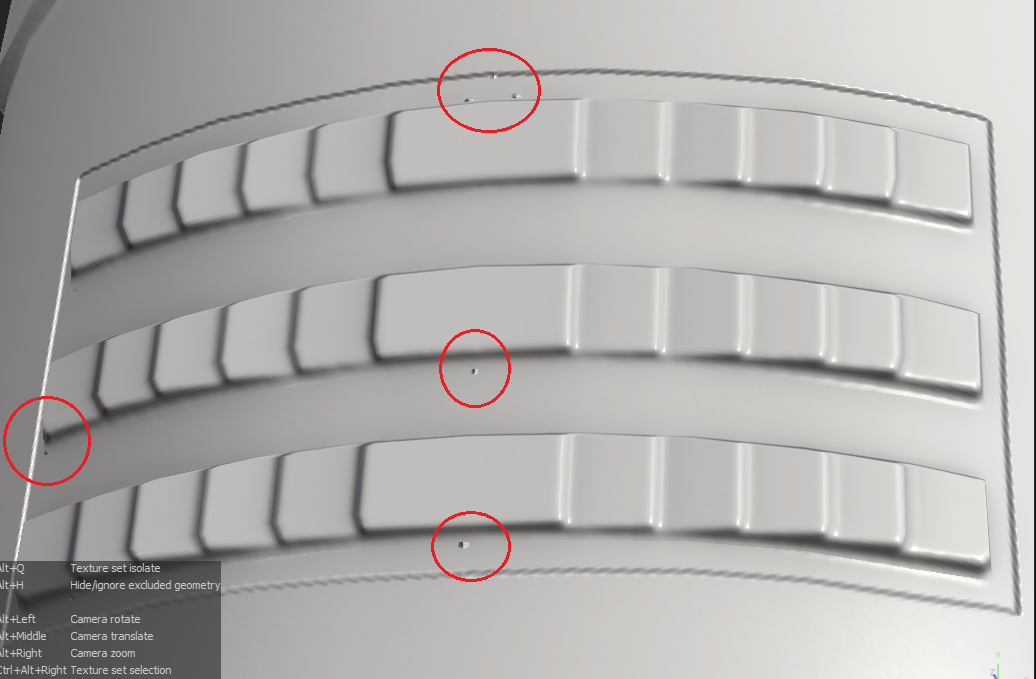
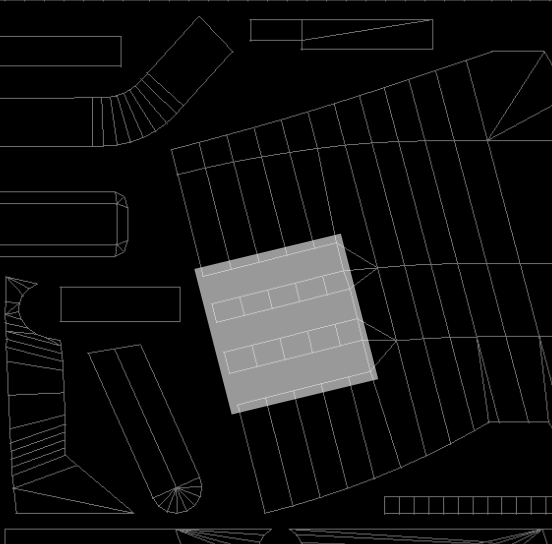
7- Baked Indentations Across Multiple UVs Can Cause Artifacts
This artifact was caused because I tried to apply a height mask across a UV island that had other islands cut out from it:
8- Don’t Use sRGB for Roughness-Metallic Maps
When importing from substance painter, my material was too shiny:
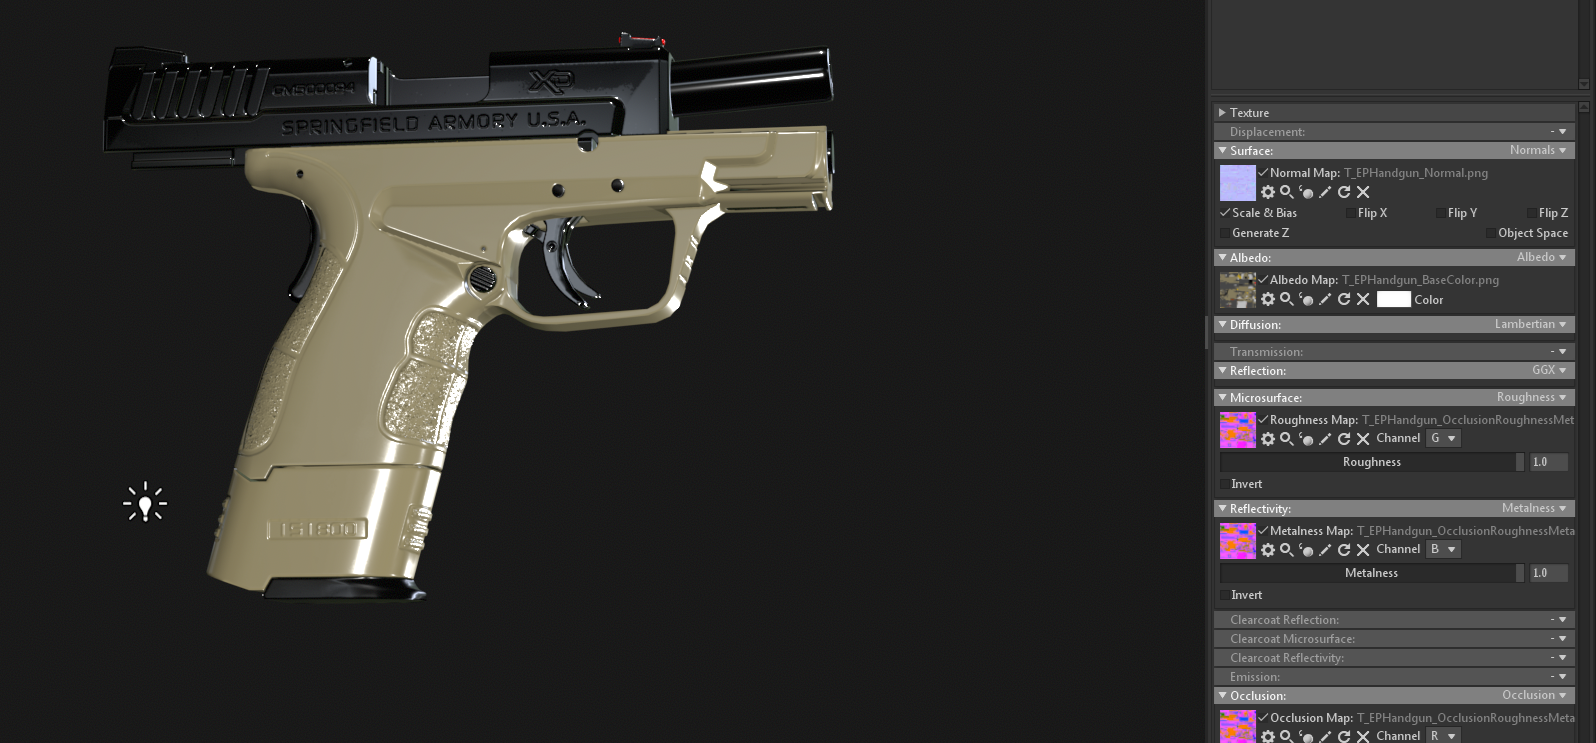
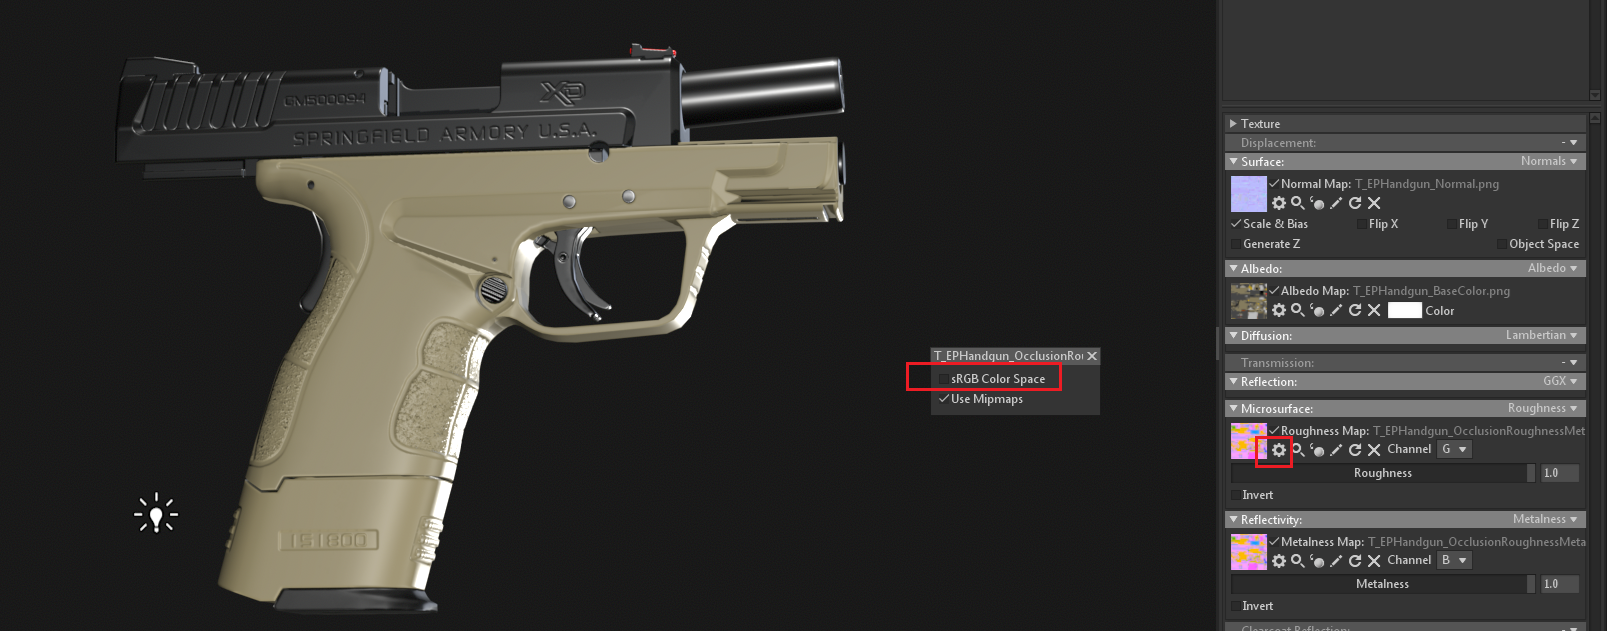
It turned out this was caused because sRGB was enabled for the OcclusionRoughnessMetallic map. For the roughness-metallic workflow, these maps should use the linear color space instead of sRGB (forum post about this — forum post 2)
9- Importing an OpenGL Format Normal Map as DirectX or Vice Versa Can Cause Artifacts
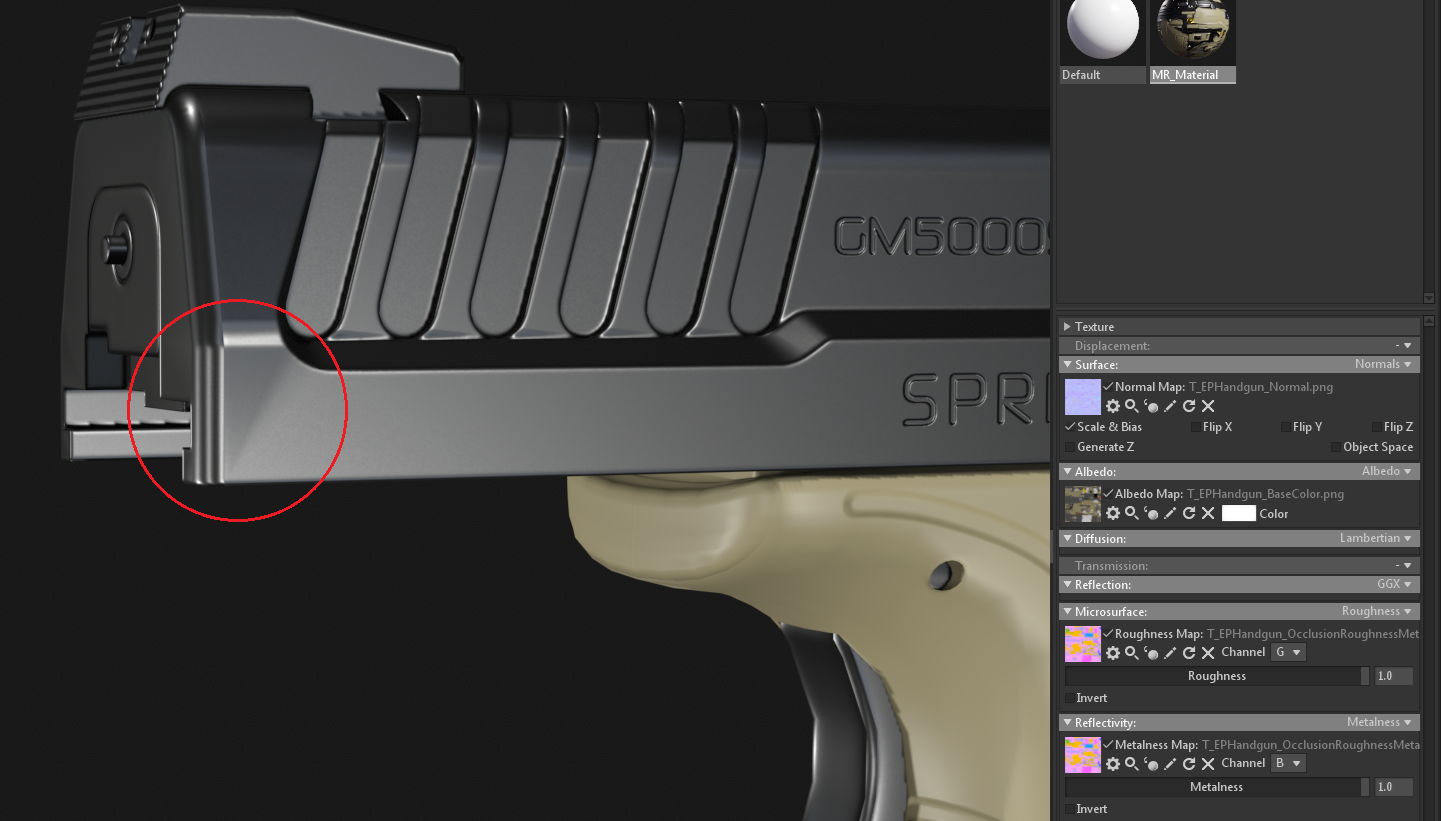
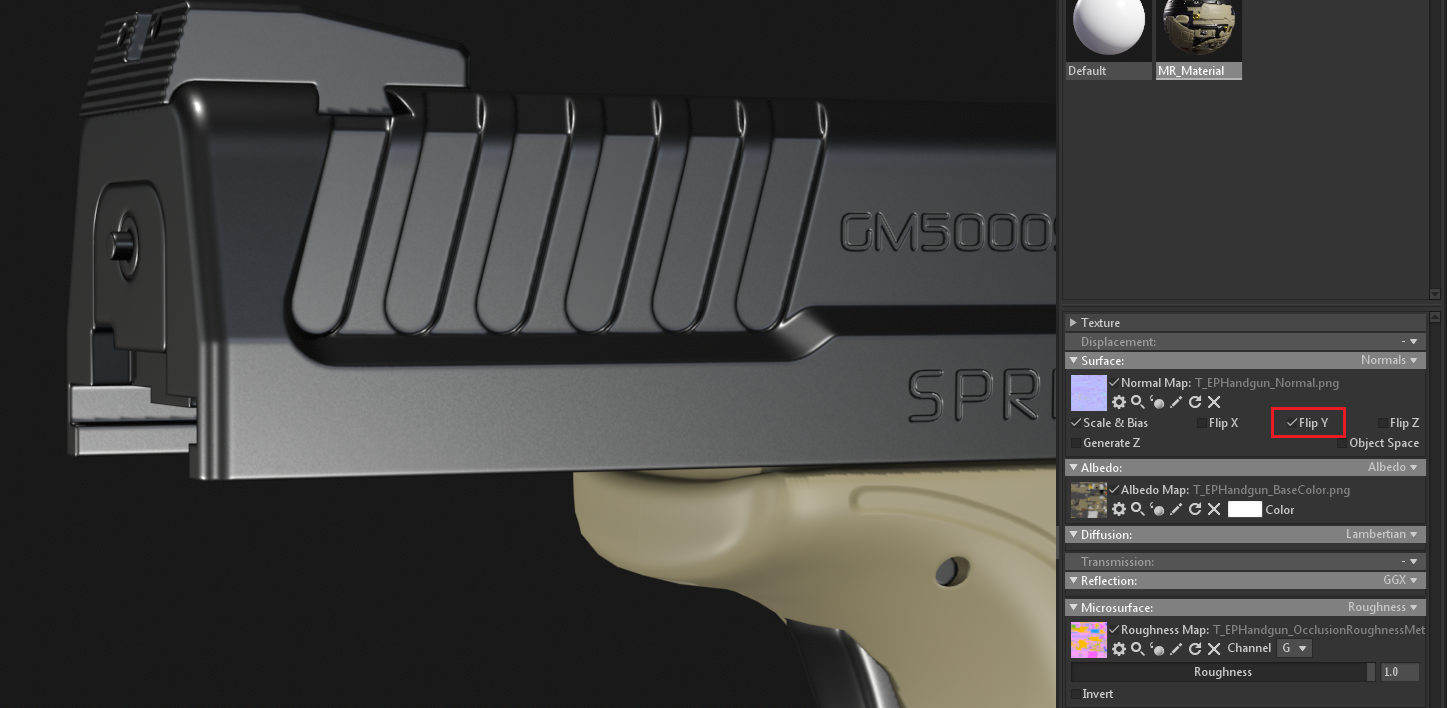
This crease was caused because I was exporting my normal maps from substance painter using DirectX format, but Marmoset uses OpenGL by default. It turns out that the Y axis (green channel) of the normal map must be inverted in order for the map to be compatible. Alternatively, you could just change the export settings in substance to export the normal map using OpenGL format.
10- “Generate From Mesh” Curvature Map Bake Issues
When baking the curvature map in Substance Painter, using the “Generate From Mesh” method can cause artifacts.
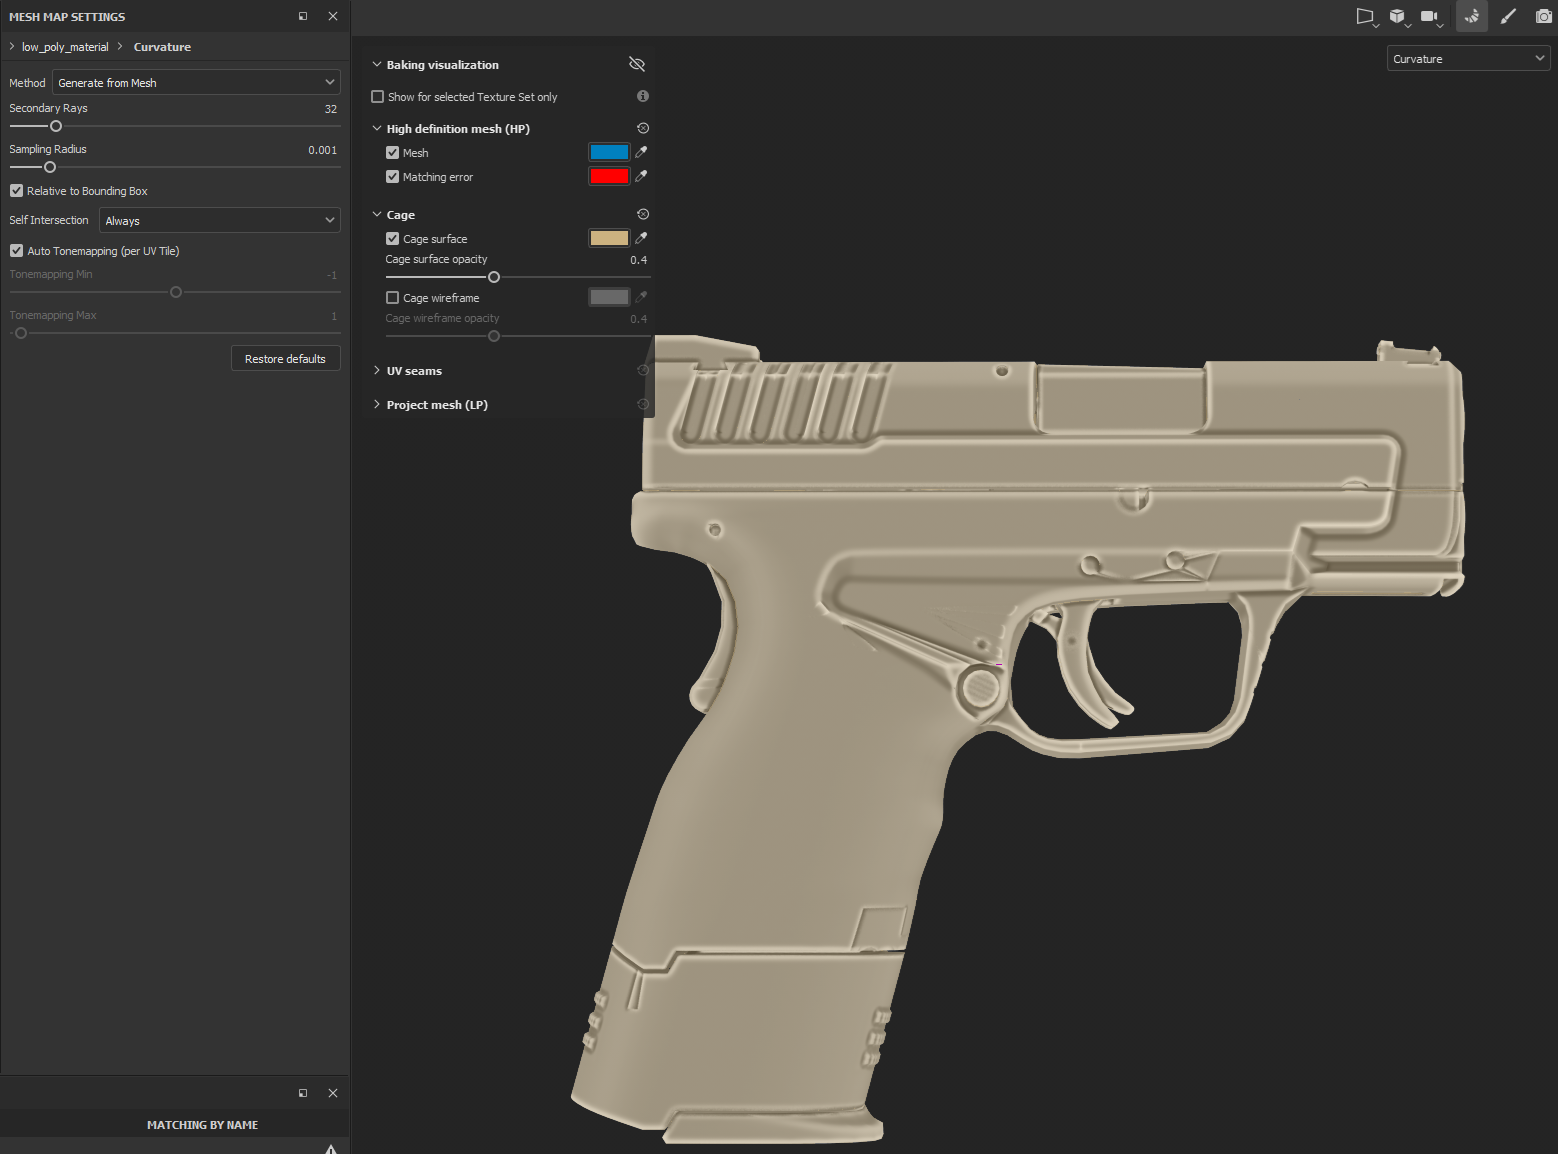
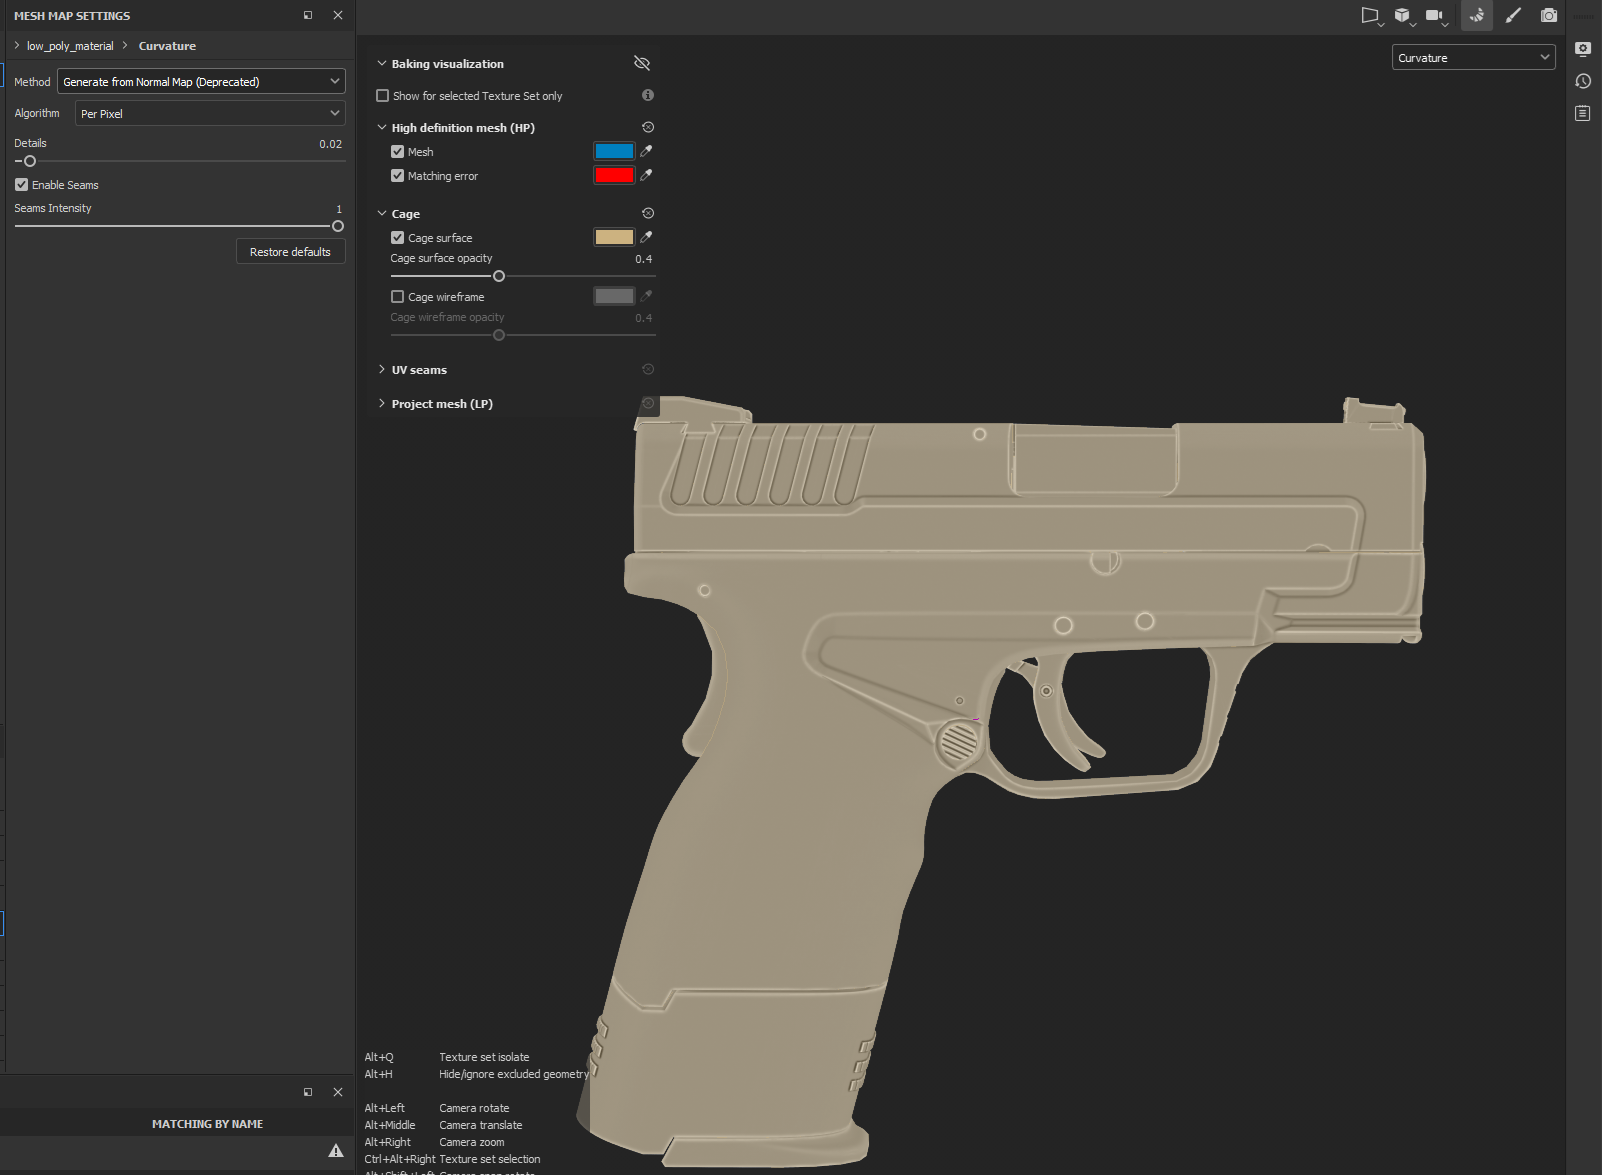
I think the reason is because the docs say that the “bake from mesh” option uses a high-poly mesh, but I did not add the high poly mesh to substance. I decided to just bake using the deprecated “Generate from Normal Map” method, which produced a clean result.
11- Attempting to Bake World Space Normals With Stacked UVs Can Cause Artifacts
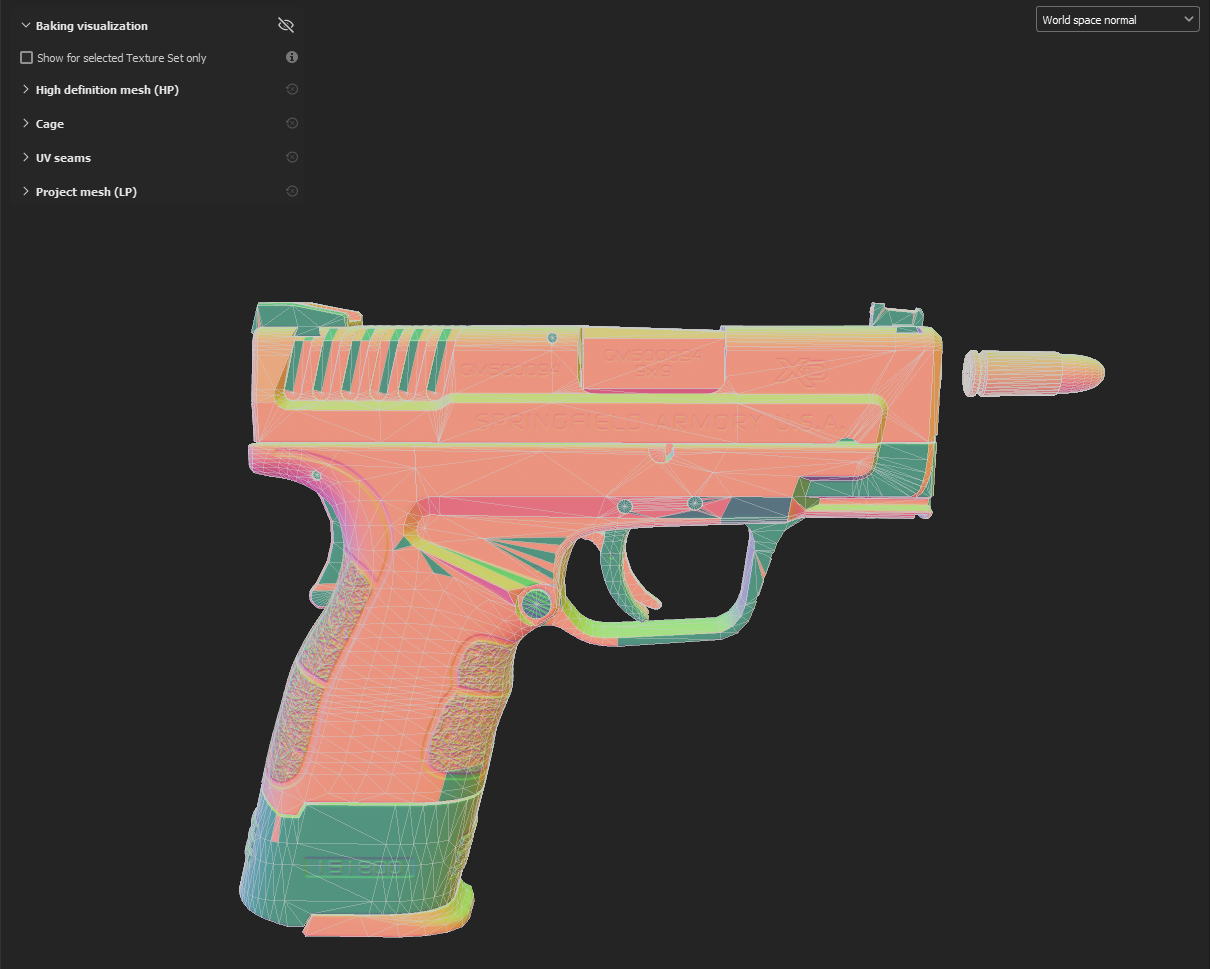
These artifacts were caused by baking with stacked UVs. The clue to look for is that all the messed up areas are places that were symmetrized. I tried re-baking with separated UVs and it fixed the problem.
With Stacked UVs:
Without Stacked UVs:
